Designing Your Wedding Photo Display Home: The Ultimate 2025 Guide
Transform your wedding memories into high-end art. Learn the 57-inch rule, 2025 trends like 35mm film, and how to avoid the "shrine effect" in your home.

- Use the 57-inch rule to ensure all wall art is hung at the correct eye level.
- Avoid the "shrine effect" by curating a mix of portraits, details, and candid shots.
- Invest in acrylic or metal prints for 100+ years of fade-resistant durability.
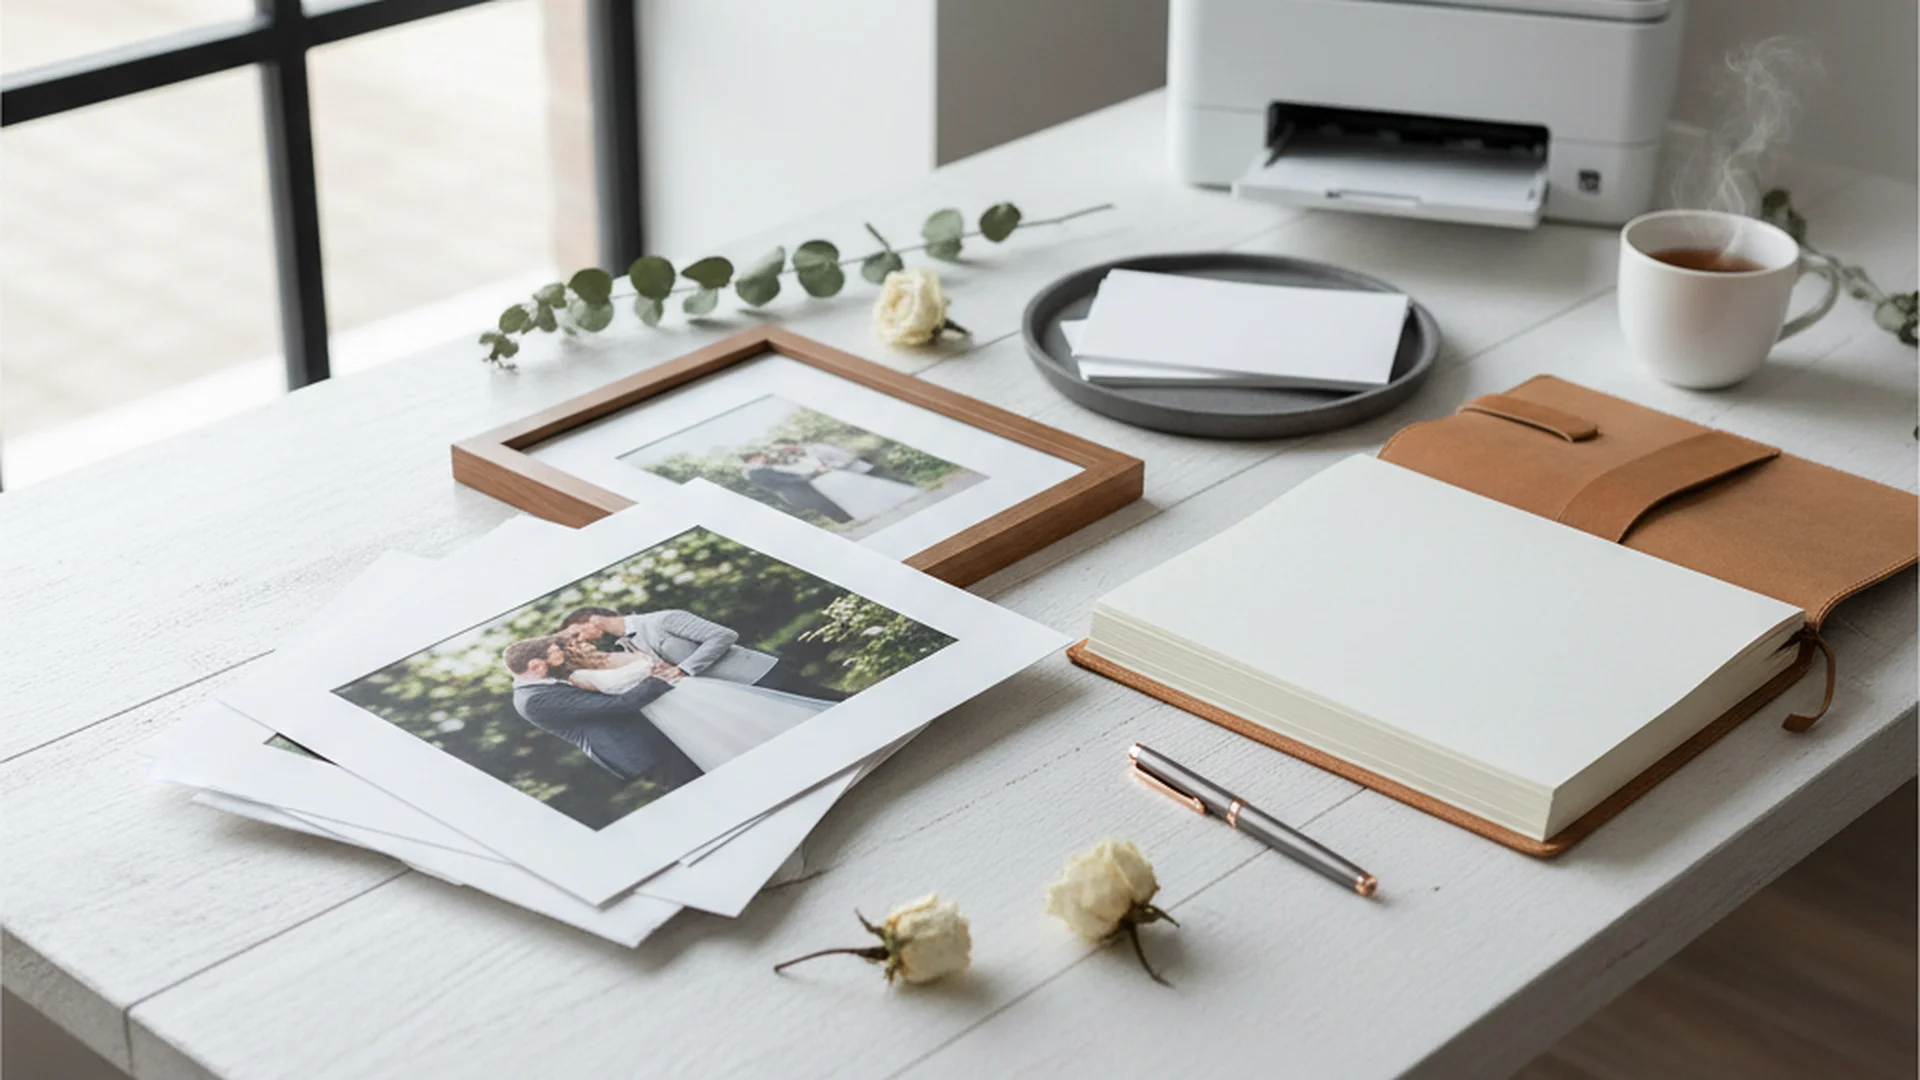
You’ve spent months—maybe years—obsessing over every detail of your big day. You’ve navigated the treacherous waters of seating charts and tasted enough cake to justify a permanent gym membership. After the dust settles, you receive that glorious digital gallery from your photographer. But then, the "Digital Gap" hits. Despite photography taking up a significant portion of the budget, many couples leave their memories trapped in a cloud folder. Creating a wedding photo display home is about more than just sticking a 4x6 on the fridge; it is about curating your personal history into a high-end interior design statement.
The Challenge of the Digital Gap
We live in an era of digital abundance and physical scarcity. While photography is a top-three priority for nearly every couple, many newlyweds fail to display physical prints within their first year of marriage. We call this the "Digital Gap." It is fueled by decision paralysis—the sheer overwhelm of choosing 10 "perfect" shots from a gallery of 800.
To overcome this, you must stop thinking like a scrapbooker and start thinking like a gallery curator. Your home isn't a museum dedicated to your ego; it’s a living space where your most cherished moments should breathe and integrate with your décor. Before you even touch a hammer, you need a Wedding Photo Backup Strategy to ensure those high-res files are safe, then it's time to get creative.
Tip
Mastering the Layout: Rules of Thumb
Hanging photos is a science as much as an art. If you’ve ever walked into a house and felt like the art was "floating" too high or looked cluttered, they likely ignored the foundational rules of interior design.
The 57-Inch Rule
Interior designers and gallery owners live by the 57-inch rule. This means the center of your photo (or the center of a grouping) should be exactly 57 inches from the floor. This represents the average human eye level and creates a sense of balance throughout the room.
The Floor Mock-up
Never, under any circumstances, start hammering holes in your wall without a floor mock-up. Lay your frames out on the floor in front of the wall you intend to use. This allows you to swap positions, adjust spacing, and see how different frame sizes interact.
Do this
The Power of Odd Numbers
There is a psychological phenomenon where the human eye finds odd-numbered groupings (3, 5, or 7 items) more visually appealing and less "stiff" than even numbers. If you are creating a gallery wall, aim for an odd number of focal points to keep the energy of the room dynamic.
2025–2026 Wedding Display Trends
The world of interior design is moving away from the "all-white minimalist" look of the 2010s and toward something more soulful and textured. Here is what is trending for the modern wedding photo display home.
1. The 35mm Film Revival
Hyper-sharp, 50-megapixel digital photos are great, but there is a massive resurgence in 35mm film. Couples are choosing to print grainier, nostalgic-looking shots for their primary displays. These photos feel less like a "production" and more like a timeless memory. If your photographer captured film shots, these are often the best candidates for large-scale printing because the grain hides imperfections that would look "digital" on a standard print.
2. Hybrid Digital Displays
New 2025 technology has bridged the gap between static art and video. Frames like the Aura or Meural allow you to display "cinemagraphs"—subtle, moving photos where perhaps only the veil is blowing in the wind—alongside your stills. This is a great way to show off clips that didn't make the final film but are too beautiful to hide.
3. Cobalt Blue and Monochrome
While "Millennial Pink" and "Sad Beige" are on their way out, bold accents like Cobalt Blue are in. Consider using a bold-colored mat inside a simple black frame to make a black-and-white photo pop. Speaking of which, black-and-white photography remains the gold standard for home décor because it matches any color palette as you change your furniture over the years.
4. QR Code Integration
This is the "stealth" trend of 2026. Custom-designed wall art now often includes a small, aesthetically integrated QR code in the corner or on the back. When scanned by guests (or the couple on their anniversary), it plays the wedding highlight film or the audio of the vows. It’s a multi-sensory approach to a wedding photo display home.
| Trend | Style Vibe | Best Placement |
|---|---|---|
| 35mm Film | Nostalgic / Editorial | Living Room |
| Cobalt Mats | Bold / Modern | Entryway |
| Sustainable Bamboo | Earthy / Organic | Bedroom |
| Acrylic Prints | Sleek / High-End | Kitchen / Modern Loft |
Material Science: Acrylic, Metal, or Canvas?
Not all prints are created equal. If you are investing in a "statement piece" (anything 24x36 or larger), the material matters as much as the image.
- Acrylic Prints: These offer a 3D-like depth and are rated for over 100 years of fade resistance. They are perfect for modern homes but can be heavy.
- Metal (Aluminum): Best for high-sunlight rooms. Metal prints are incredibly durable and resistant to UV light and moisture.
- Canvas: A classic choice, but be careful—low-quality canvas can look dated or "cheap" in a modern interior. If you go this route, ensure it is a gallery wrap with a thick frame. You can learn more about the pros and cons in our guide on Wedding Photo Canvas Prints.
Heads up
From the OurVows workspace
Organizing your wedding photos?
Collect, store, and share every photo — and keep the day's timeline tight so nothing's missed.
Where to Hang What: A Room-by-Room Guide
One of the biggest mistakes couples make is putting every single photo in the living room. To create a cohesive wedding photo display home, you need to distribute the imagery based on the "vibe" of the room.
The Entryway: The "Greeting"
This is where you place one or two "landscape-heavy" shots. Think of an epic wide shot where you and your partner are small, and the beautiful scenery (mountains, cityscapes, the venue) takes center stage. It feels like art rather than a "wedding photo."
The Living Room: The "Gallery"
This is the place for your curated gallery wall. Mix your favorite portraits with "detail" shots—a close-up of the rings, the bouquet, or even a shot of the architectural details of your venue. This prevents the "shrine effect."
The Hallway: The "Timeline"
Hallways are perfect for candid moments. As people walk through, they see the laughter, the dancing, and the "unposed" shots. Documentary photography, one of the most requested styles for 2025, thrives in these transit spaces.
The Bedroom: The "Intimacy"
Keep the most romantic, close-up, and private moments for the primary bedroom. This is your personal sanctuary, and the photos here should reflect your connection rather than the "event" of the wedding.
Note
Common Mistakes to Avoid
Creating a wedding photo display home is a balancing act. Here is where many couples go wrong:
- The "Shrine" Effect: This happens when you have too many photos of just the two of you staring at the camera. It can feel overwhelming for guests and a bit self-centered. Balance portraits with "abstract" wedding shots like the flowers or the landscape.
- Inconsistent Framing: You don’t need every frame to be identical, but they should be "cousins." Stick to two finishes—for example, Natural Oak and Matte Black—to keep the look intentional and curated.
- Ignoring the "Details": Some of the most beautiful home art comes from the small things. A macro shot of your lace or the table setting can look like a piece of high-end abstract art to the casual observer.
- Printing Too Small: An 8x10 photo on a large living room wall looks like a postage stamp. When in doubt, go larger. A 16x20 is usually the minimum for a standalone piece.
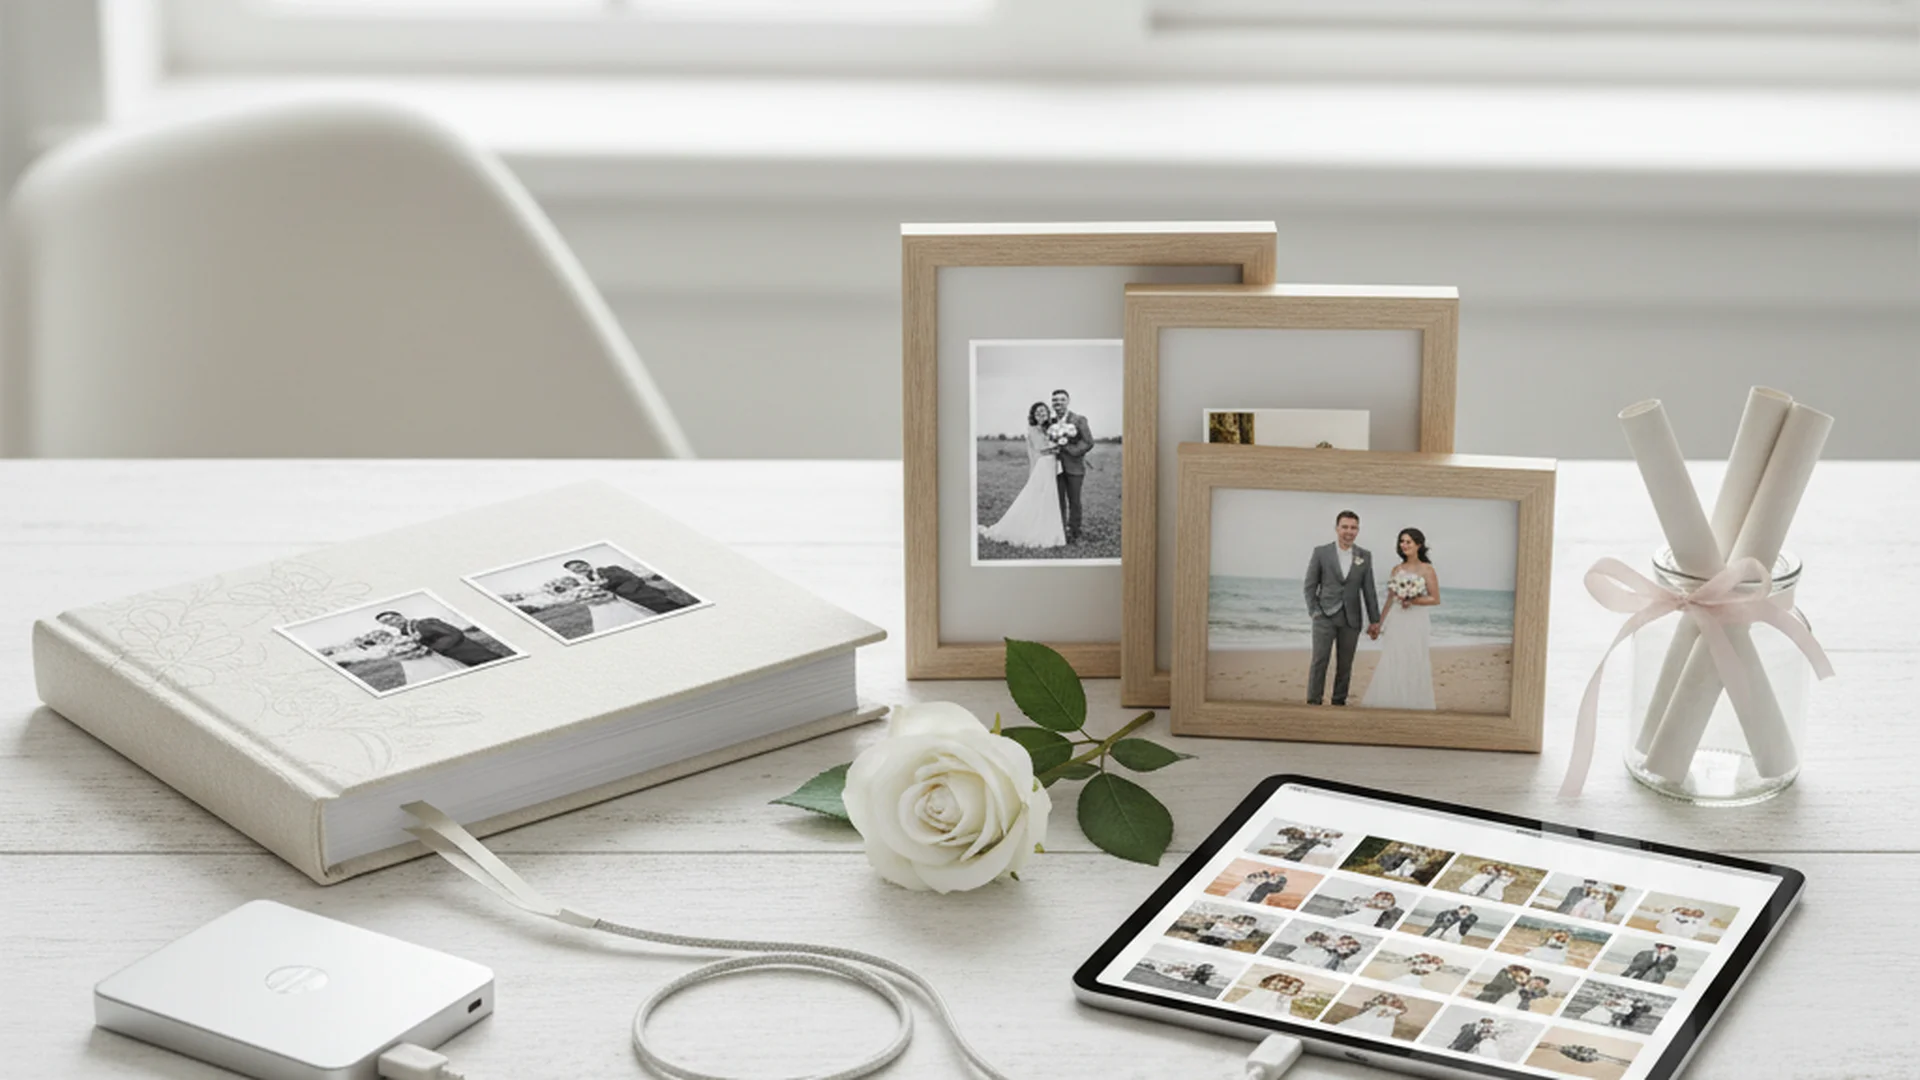
Integrating Mixed Media
A modern wedding photo display home often incorporates more than just photos. This is where "Mixed Media Integration" comes into play. Expert designers suggest mixing in physical mementos to add texture and depth to your walls.
- Framed Vows: Have your vows hand-lettered by a calligrapher and frame them alongside a candid photo of the ceremony.
- The Invitation Suite: A framed version of your invitation, RSVP card, and envelope (with those beautiful vintage stamps you picked out) makes for a sophisticated, editorial-style piece.
- Shadowboxes: These are great for 3D items like a pressed bouquet, your wedding shoes, or even the cake topper.
Tip
Frequently asked questions
Is it tacky to display wedding photos in the living room?
How many photos should I display in one room?
What is the best way to choose which photos to print?
Should I get my photos professionally framed?
How do I handle photos from an unplugged wedding?
Conclusion
Your wedding was a milestone, but your home is where your life happens. By following the 57-inch rule, embracing 2025 trends like 35mm film and QR codes, and avoiding the dreaded "shrine effect," you can create a wedding photo display home that feels sophisticated and deeply personal. Don't let your memories sit in a digital cloud; bring them into your physical space where they can be celebrated every day.
For more advice on managing your post-wedding tasks, check out our Complete Wedding Photo Management Guide.
Do this
Ready when you are
Ready to Design?
Transform your digital gallery into a stunning home display today.
Ready when you are
Plan your wedding without the chaos.
Free forever for couples just getting started. Two minutes to set up. No credit card.
Keep reading
Anniversary Photo Traditions: How to Document Your Evolving Love Story
Discover the latest anniversary photo traditions, from "Redemption Shoots" to the "Beautiful Mess" aesthetic. Learn how to plan your legacy session for 2025.
The Ultimate Wedding Photo Printing Guide: Preserving Your 2025 Legacy
From resolution tips to AI-enhanced large format prints, this guide covers everything you need to know about printing your wedding photos in 2025 and 2026.
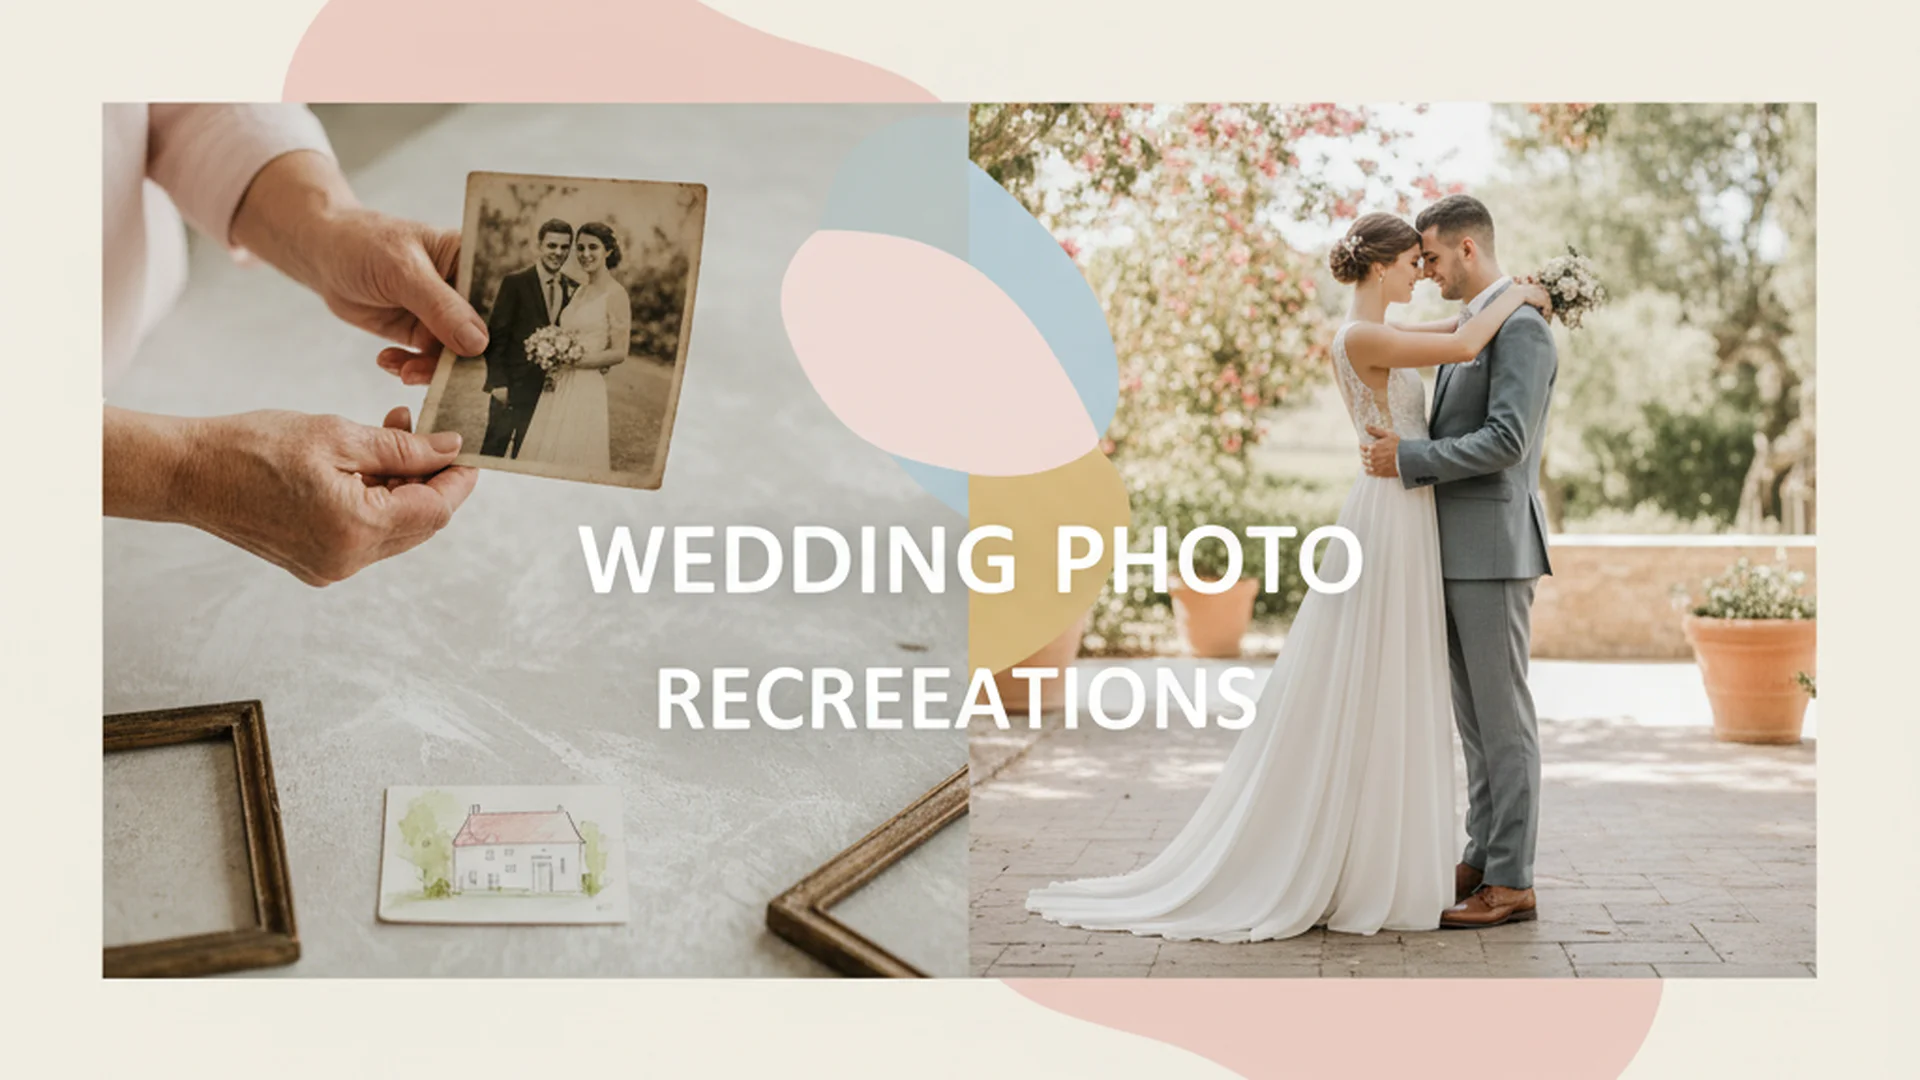
The Ultimate Guide to Wedding Photo Recreations: Capturing Then and Now
Explore the growing trend of wedding photo recreations. Learn how to plan a "Then and Now" session, match vintage aesthetics, and create lasting family heirlooms.